Putting on a New Edge
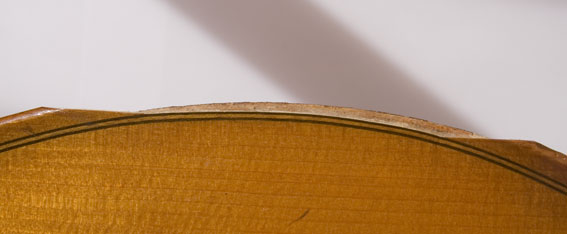
It happens often: A blow from the bow or the instrument hits a hard object and there you have it, a dent on the edge.
The belly edge is especially sensitive. In violin building one uses
mountain spruce to construct the belly. This wood distinguishes itself
through its excellent acoustic properties, but brings with it the
disadvantage of being sensitive to contact and the tendency to splinter
along its growth rings.
So that is why we will now show you how a damaged belly edge (from a
cello in this example) can be professionally retrofitted. Retrofitting a
belly edge is work that should only be placed in the hands of an
experienced violin maker.
Depending upon the depth and the location of the damage, there are several ways in which an edge can be restored.
The goal is always to replace an edge in such a way as to make the once
damaged area practically invisible und indistinguishable from the
original. Next to the careful choice of wood, paying close attention to
the growth ring width and radial cut, the violin maker must also use
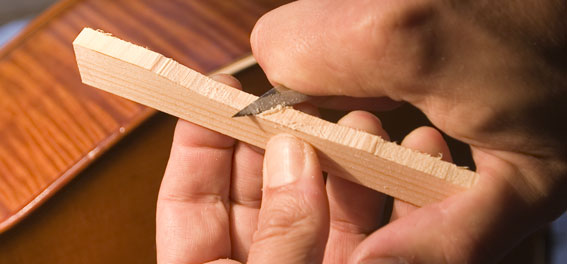
sharp tools as exemplified in the following picture:
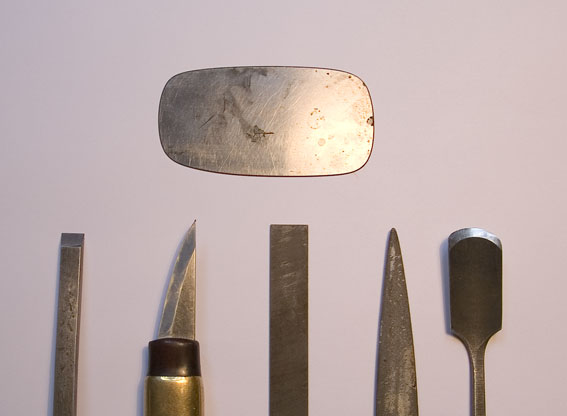
As you can see here: The draw blade is above, below from the left is a chisel, a carver, a crossing file and a gouge.
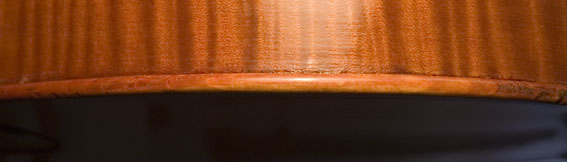
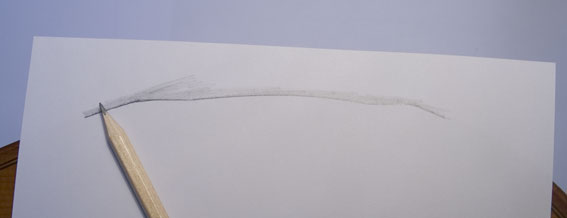
Using our cello example, a Maurice Bourguignon instrument built in 1940, first the belly edge is marked, and this parallel to the respective growth rings during insertion, as described above.
The serious damage above to the left is clear to see, as well as the damage seen in the right of the photo.
When the damage is more on the outside, only the belly edge is adjusted parallel to the growth rings and retrofitted correspondingly. If, however, a straight cut is no longer possible, the repair must be carried out as described here.
The here described repair method in the large-area was chosen, because a lot of wooden parts were missing on the back side (which are not shown on the picture) and were replaced by wood putty.
Probably this was caused by opening the belly in a inexpert way.
Thus a safe gluing of the belly on the ribs was possible by putting the edge in
the mentioned style.
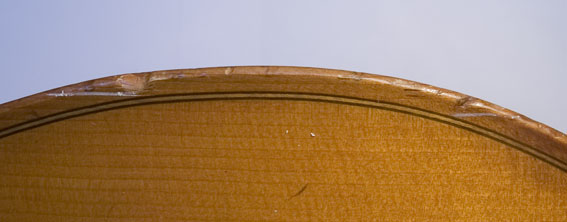
The white markings represent the two incisions to which point the belly edge will be removed.
Now the damaged edge section will be removed.
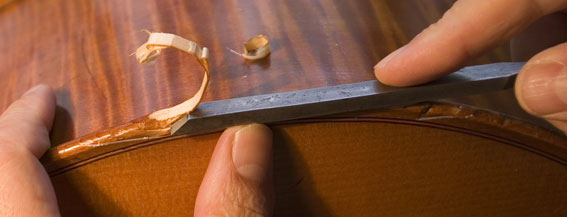
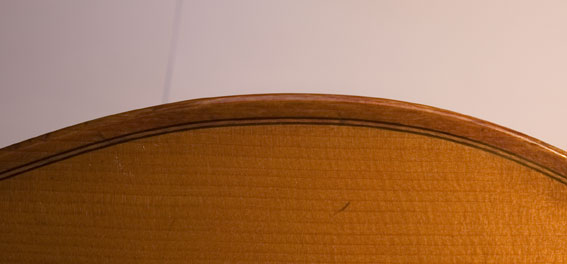
On this photo one can recognize the primed edge. Decisive here is that all areas are adjusted exactly. This is reappraised with a high-precision ruler.
In order to adjust the wood, the peeling off of the belly edge must first take place.
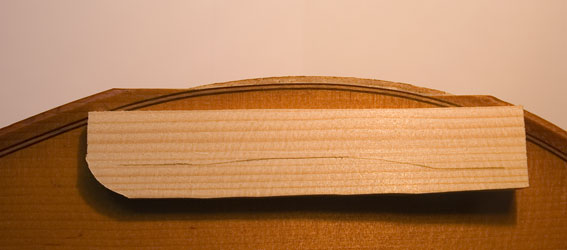
The selected wood should have the structure, grain, growth rings and symmetry that come closest to the original. The violin builder normally has a treasure chest of aged woods at his disposal so that the appropriate wood can be found for every type of older instrument. Being that our workshop has been in existence since 1932, you can imagine that we have a wonderful selection of repair woods of all variations at our disposal.
After the wood has been saw it does not fit precisely, of course, and as with every task in violin making must be subjected to intensive handwork.
The wood will now be cut correspondingly and fit within the recess. This is done with the help of a woodworking knife and some chalk and various files which enable a better fit. The two areas running parallel to the growth rings are finished using a finger plane. The chalk serves as a means to treat the points of contact between the retrofitted and original until the chalk stands out over the entire wood area, thus guaranteeing a 100% fit.
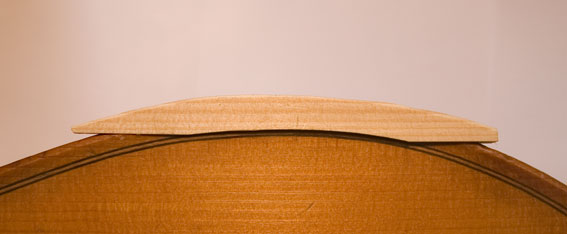
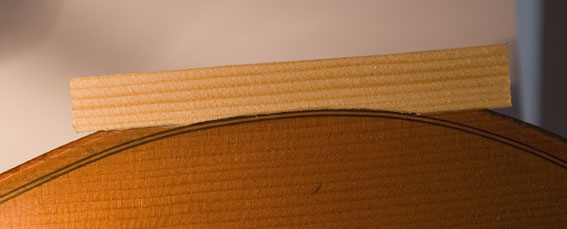
Glued edge piece

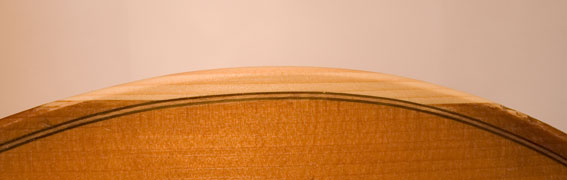
The wood will now be cut to fit the contour correspondingly, then planed and filed. The fluting will now be touched up and the belly edges will be rounded up and down. Important here is that the retrofitted layout of the line matches the original wood exactly.
To prevent the penetration of the varnishs color pigment, it will be necessary to place a primer coat on the rough wood surface. But here, too, a light coloration must take place in order that the new wood color matches the old.
The last step is varnishing of the edge:
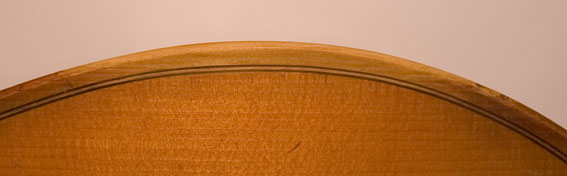
Now it the ribside fits again: