
Making of a Violin
Here we would like to show to you how a violin is made in our violin workshop. Many photos will allow you to follow the construction of a string instrument at the hands of a master violin builder. In violin building, only old, mature woods are used. In general, 10 year old wood will suffice, but using older wood has its advantages.
For the body, primarily two kinds of wood are used: sycamore maple for the back, ribs, neck and bridge while the belly is made of resonant spruce. The wood pieces for the belly and the back are layered like cake pieces from the upright stem, called radial cut.
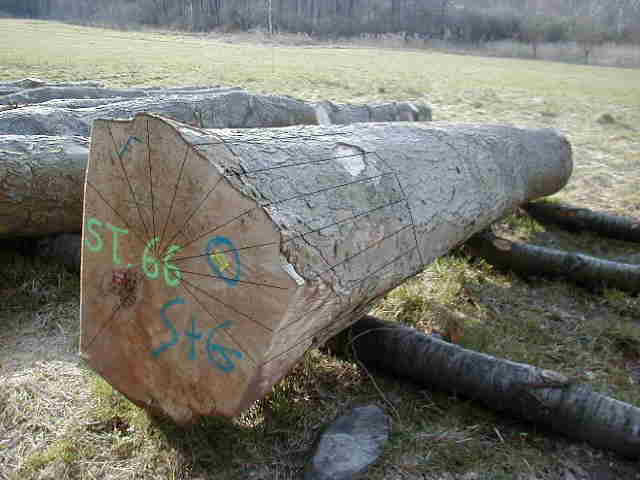
Maple stem with marked segments
Radial cut: The annual rings are vertical to the base and provide long-term resistance to the pressure exerted from the strings and the bridge. For the same reason, it is advantageous to split or to saw the wood along the splits length.
Attachments like the fingerboard, tailpiece and pegs are fashioned out of hard wood such as ebony or rosewood. All woods should be mature and not artificially dried.
Construction
The Inside Mould
Often a inside mould is used for violin making. It can be used over and over again. The moulds size is approximately the size of the violins outline and is fitted with 6 blocks. The blocks are attachment points for the ribs.

Mould with glued on corner, upper and lower blocks.
The ribs are made of thin boards (violin: about 1mm) that are shaped using a special iron and moisture. The profile of this iron matches the waist of the instrument. Originally embers were used although nowadays the iron is heated electrically. The ribbing is shaped according to the mould and glued to the blocks.
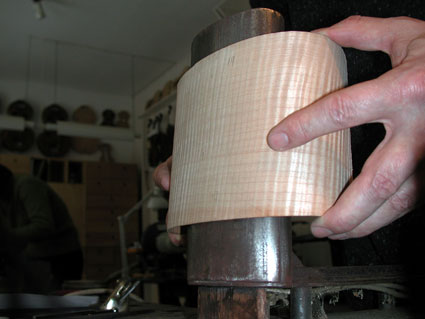
This is how the ribs are bent into shape.
The Back
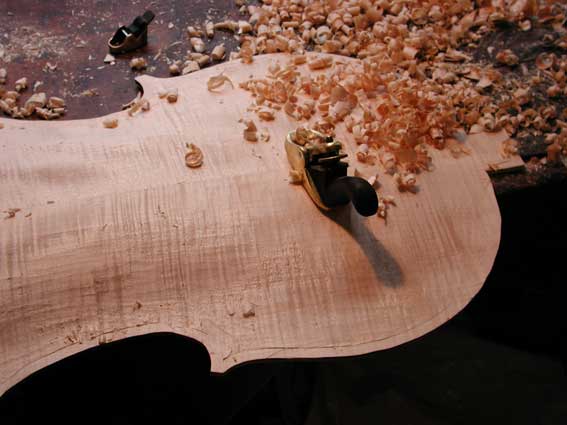
In violin making, maple is usually used for the back. The back can be made using one piece of wood or two separate wood pieces that have been glued in the middle. At the thickest point, the backs of violins are 15-16mm thick.
The back is cut into shape according to the mould and then the wood is arched. The carving work is done using a smoothing plane, chisels and a curved-sole finger plane and a custom-made draw blade.
This is how that back of a violin is curved in violin making.
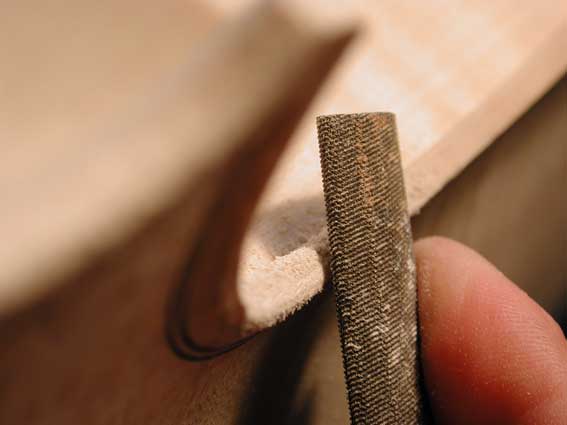
After the curving has been completed a channel is cut that runs parallel to the perimeter. The channel will hold the lining. The lining is made of three-layer wood splint. A light layer is sandwiched into the dark layers. It is meant to prevent cracks in the cover and also has decorative purposes.
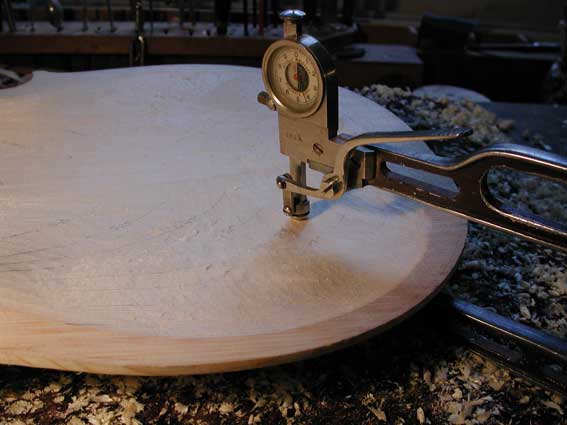
With these same carving tools, the various thicknesses of the back are determined. The wood strength depends on the firmness of the wood used and generally no two instruments are made the same. The thickness of the back has a big influence on the sound. Linings, or little wooden boards, are fitted into the rib shape to increase the surface area for gluing the ribs to the back and belly.
The Belly

Belly Curvature
The belly is inlaid and worked in the same way as the back. Here the wood strength and its distribution have an all-important effect upon the sound of the finished instrument. Following these preparations, the f-holes and the bass bar are added.
Belly Preparations
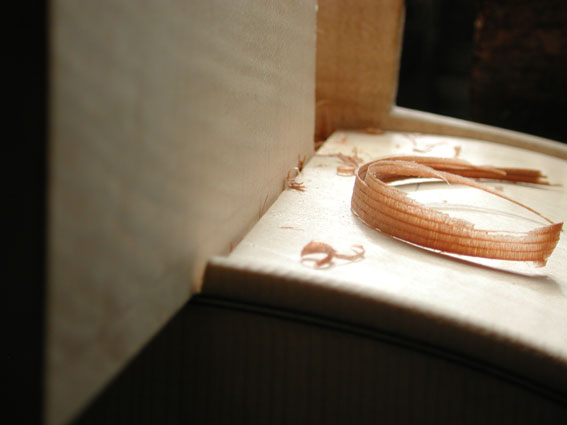
Before that belly can be glued in place, the mould must be removed. Once the body of the instrument has been closed, the edges are chamfered and the lower saddle is fitted into the belly.
Chamfering the back edges
The Neck
On both sides is an outline drawn and chiseled down accordingly.
The windings on the scroll are formed with a neck iron which consists of 8-10 chisels that correspond to the respective radii of the scroll windings.
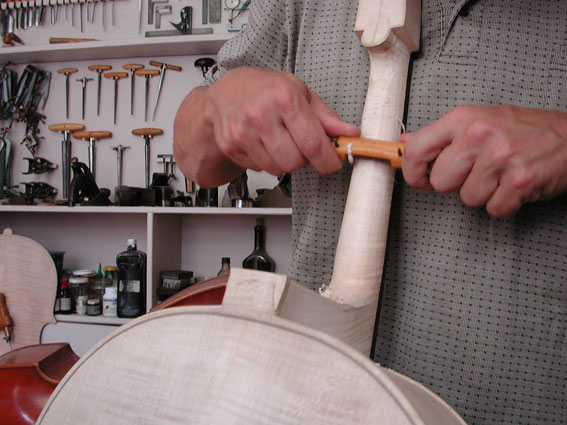
In order to fit the neck into the instruments body and glue it in place, a cut-out is made into the upper block.
The base of the neck is slowly fitted into the cut-out.
The necks angle and the fingerboard determine the height of the bridge. This must therefore already be taken into account when fitting in the neck. After the fingerboard is glued onto the neck, it is given a form that is agreeable to the player.